Welcome to my pet and family portrait blog. If you have commissioned a portrait you can see how it is progressing. If you would like to commission me to paint your pet, family or friend then visit my site at www.katetugwellportraits.com
Fancy learning how to draw and paint? See my art classes website at www.katesartclasses.com


Saturday 28 June 2014

Three Golden Retrievers


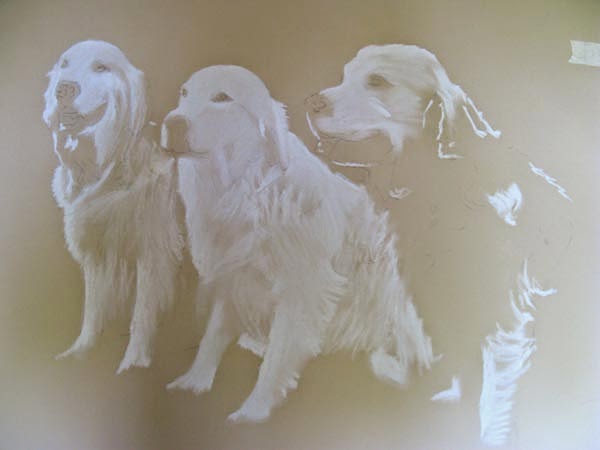
These three canine friends are now complete - layers of pastel have been applied over a period of days. Following on from the last blog entry, as I had already laid the base foundation of colour, I took my black pastel and focussed attention on the dogs' faces. I spent time making sure I captured the character and getting their features down accurately. I also used brown and grey pastel pencils to pick out the highlights. I used pinks, reds, purples and browns on their tongues and took care not to smudge the black to totally change the expression on each face. The next stage was to look at the general highlights and shadows so I put marks into the shadows using a dark brown pastel and white and cream for the light areas. I smudged in dark shadows under the dogs and having decided not to get more photos of their paws or introduce green grass, I created a texture for them to stand on that used the same colours as their coats. The last stage involves assessing the picture as a whole, adding more texture, balancing tonal values and sharpening up details. I'll look at it again tomorrow but I've signed it off as finished.

Monday 23 June 2014

Three Golden Retrievers


This latest commission is of three Golden Retrievers: Georgie on the left, Walton in the middle and Wilson on the right. It is to be undertaken with pastel on size 18 x 24" Canson MiTientes Pastel Paper. The first stage was to sketch the dogs onto the paper, I moved Wilson further in to make a more balanced composition and, once I had a likeness, set about putting white pastel into the main areas of light. Next, I took a dark brown pastel and blocked in the main areas of dark, blending the pastel as I worked into the tooth of the paper but trying not to blur the edges too much. After establishing the darkest and lightest areas, the next stage is colour. I used a warm yellow and terracotta pastels to block in the main areas as I can see them, working from left to right and placing marks in the direction of the fur, which gets pretty curly on Wilson! In the latest stage I put some cool colours into the shadows which has the effect of warming up the golds. I chose green and a blue/grey and smudged it all in. That's the base layer done, now for the details...